Hi Everyone,
You may have seen my previous post where I shared a few iPhone editing tips, but since it has been a minute, I thought I’d share an updated version to help you keep your photos looking as sharp and professional as ever. If you’ve ever wondered how I get the look you see in my personal iPhone photos, then keep scrolling for a few editing secrets from yours truly. You’d be surprised at what you can capture on your phone if you just have a few tips and tricks under your belt! So with that in mind, let’s jump right into iPhone Editing 101…
Get the Right App
The right app can make a world of a difference when it comes to photo editing. From A Color Story, to VSCO, Afterlight and more, each app offers a completely different set of filters and tools to transform your photos, and picking the right one will set you on the path to success! With that said, this often just takes a lot of trial and error. I mostly use VSCO, but the wide array of bright and clean color-friendly options in A Color Story makes it a close contender.
Don’t Over-Edit
It is possible to have “too much of a good thing,” especially when we’re talking about filters and adjustments. It’s a given that some photos will require more editing than others, but don’t get filter-happy when you’re editing. In most cases, photos can be wildly transformed with just one to two filters max, and some minor adjustments to things like brightness, contrast, and color balance.
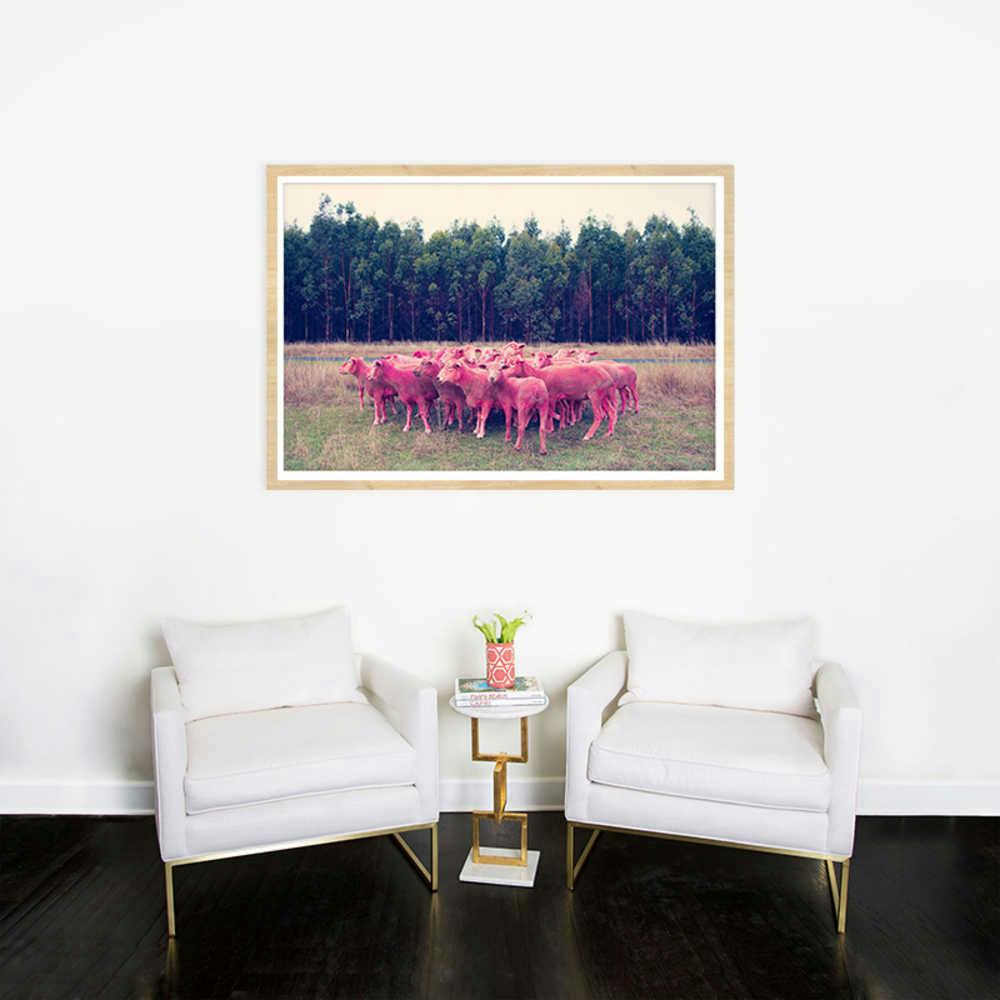
.jpg-UhZMTrM)
Get the Shot From the Get-Go
If you want to really stay far away from over-editing, focus on getting the shot you want right out of the camera, instead of desperately fixing poor lighting conditions afterward. This is exactly why photographers get up at the crack of dawn and/or time their shoots during golden hour when creating work. Lighting is KEY, and it’s much easier to make minor adjustments to an incredible photo, than it is to overhaul a poor quality or poorly lit photo in an editing app.
Straighten Up
A mistake I commonly see with iPhone photos is failing to frame the shot correctly when taking a photo. Of course, this is understandable since an iPhone camera is generally used on the go—but that doesn’t mean the elements in the background of your photo are any less important! When you’re editing, make sure to use the straightening tool to square up any lopsided shots. Then, go one step further by cropping out any unwanted details along the edges of the frame. It will make your photos look cleaner and more professional overall.
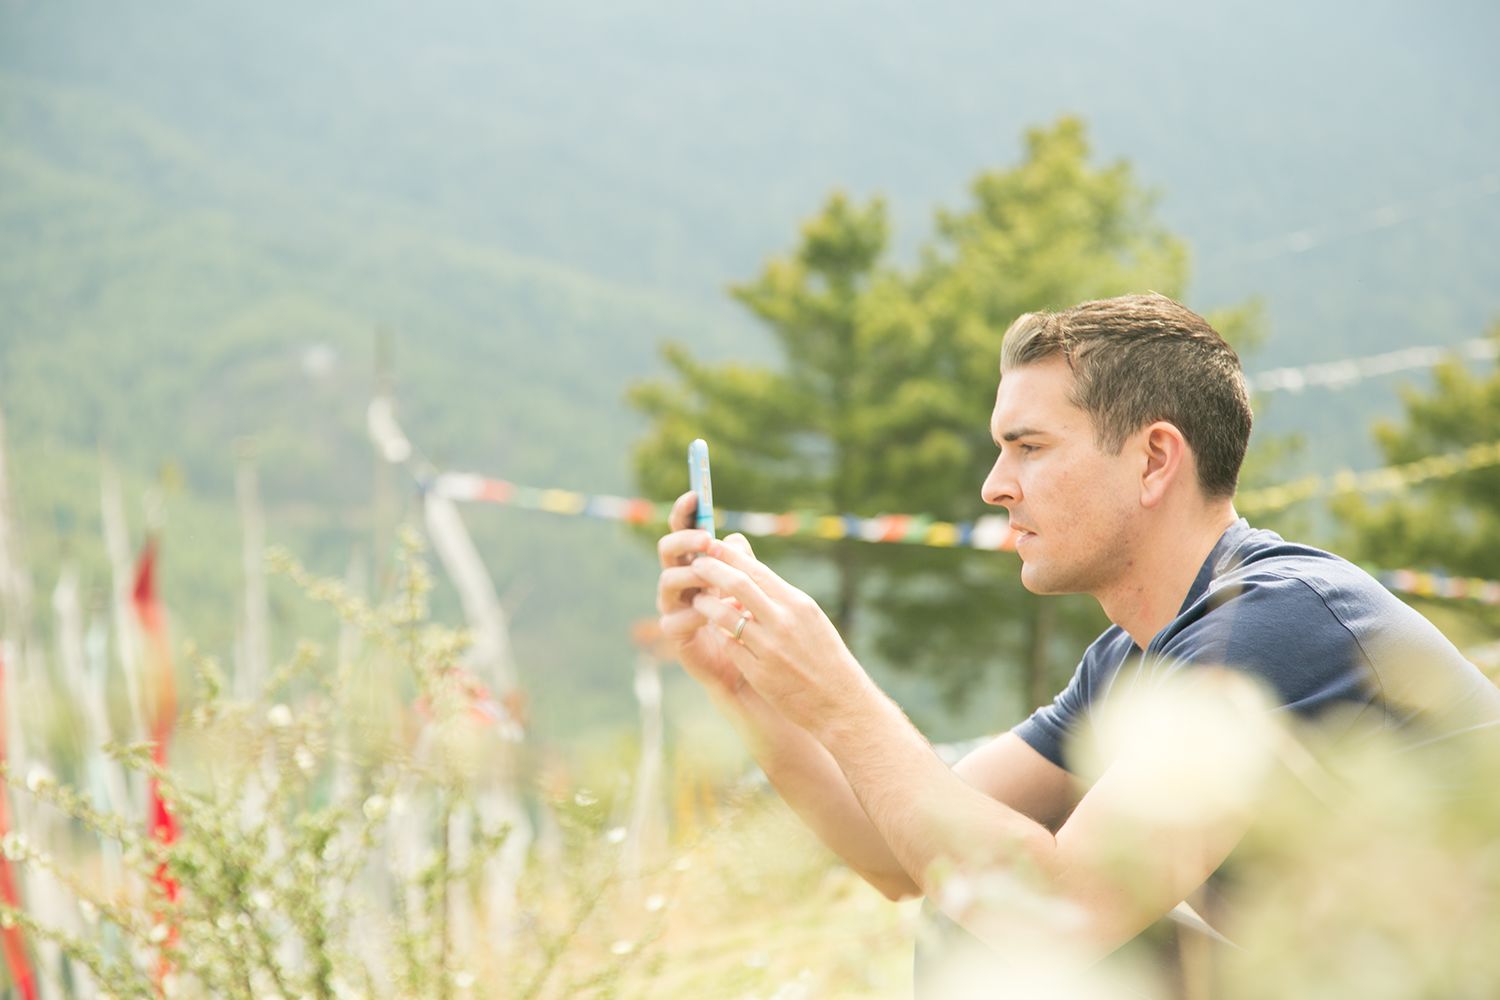
.jpg-yADUG84)
Easy as 1, 2, 3
When it comes to the step-by-step of iPhone photo editing, it really is as easy as 1, 2, 3! If you’ve taken a fairly good photo to begin with, then these three steps should be all you need… First, brighten things up. As long as the details aren’t too blown out, I think a bright photo always makes things look clean and crisp. Second, apply a filter. A couple of my favorites are A6 and C8 in VSCO, but there are quite literally hundreds of great filters out there, and your favorite filter will not always look good on every photo, so play around with your options. Third, tweak the details. This usually means contrast, color balance, and/or saturation, but not all three are necessary for every photo.
Keep it Consistent
Once you’ve established a basic editing style that you like, try to stay true to that aesthetic whenever possible. Creating a cohesive look for your social media feed will automatically make your photos look more professional, and the small details will seem more intentional. Bouncing around between editing styles and drastically different filters will make your feed look cluttered and confusing. So, pick a handful of editing tools and filters that you love and try your best to edit all your photos with those tools.
Is there anything I missed? Are you going to try these iPhone editing tips for yourself?
I hope you do! If you found these tips helpful, show me how you use them by sharing with me at @GrayMalin on social media.
P.S. Don’t forget to click here for a few more tips you may have missed in my first post. Then get ready to share away…
Cheers!
xx
GM
Photos: @graymalinpersonal on Instagram