The Art of Having Fun
Out of Frame: Tips for Shooting Interior Photography on an iPhone
byTeam GM
5 years ago
If you’re anything like us, then you probably spend much of your time swooning over unbelievable interiors on Instagram. (Guilty!) In our eyes, the best thing about beautiful design is that there is enough to go around for everyone—but the hard part is capturing that beauty in a photo, especially when you’re not a professional photographer. And even though we have the perk of working with jaw-dropping interiors on the regular, we know the feeling of snapping a less-than-great iPhone photo of a space you’re really proud of. So we thought, why not dish out another round of our go-to iPhone photography tips? If you’re dying for a few pointers on how to shoot interior photography on your iPhone, then you’re in luck. Here’s how to capture your space like the pros—no photography equipment required…
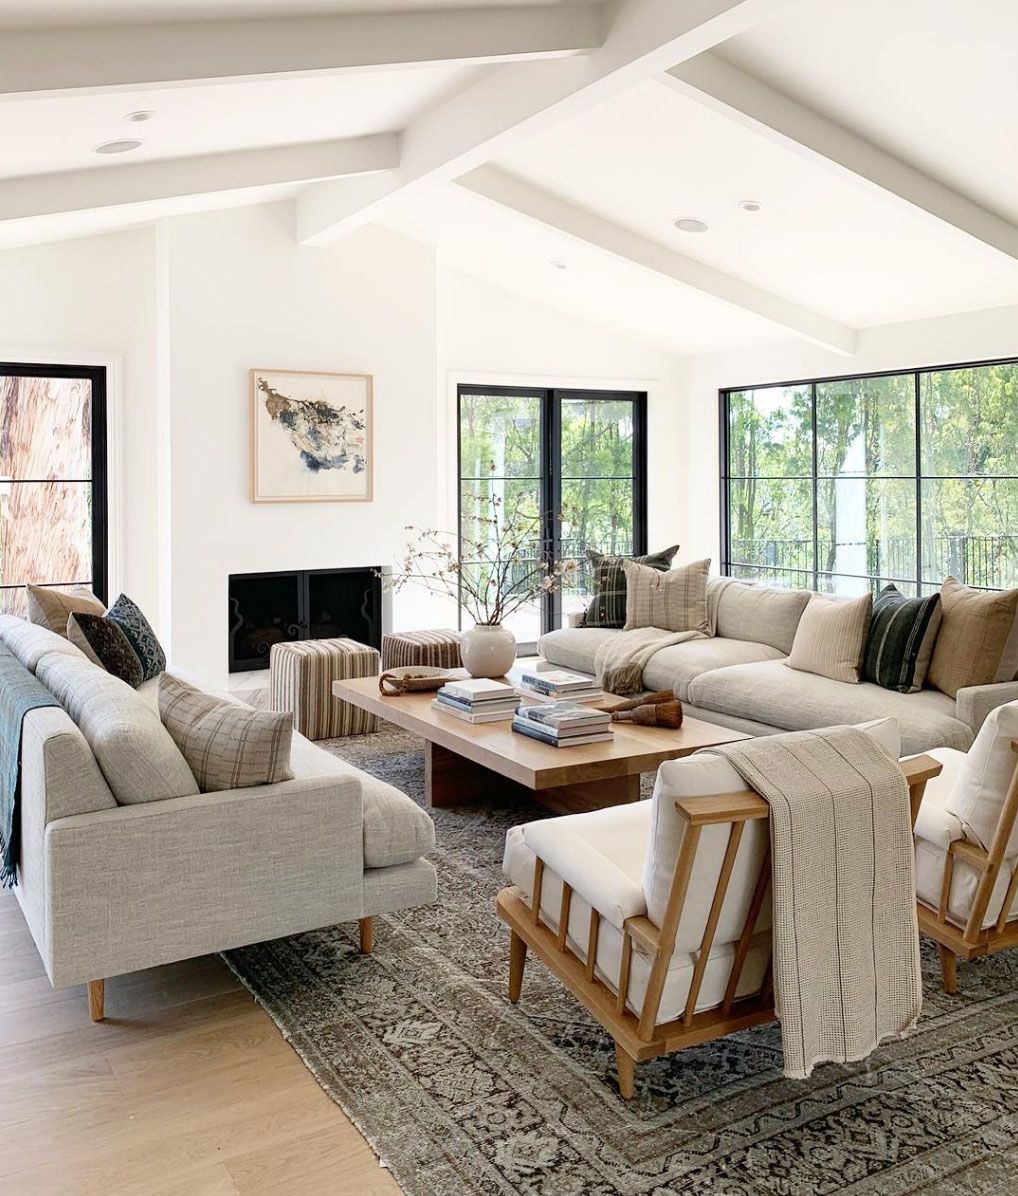
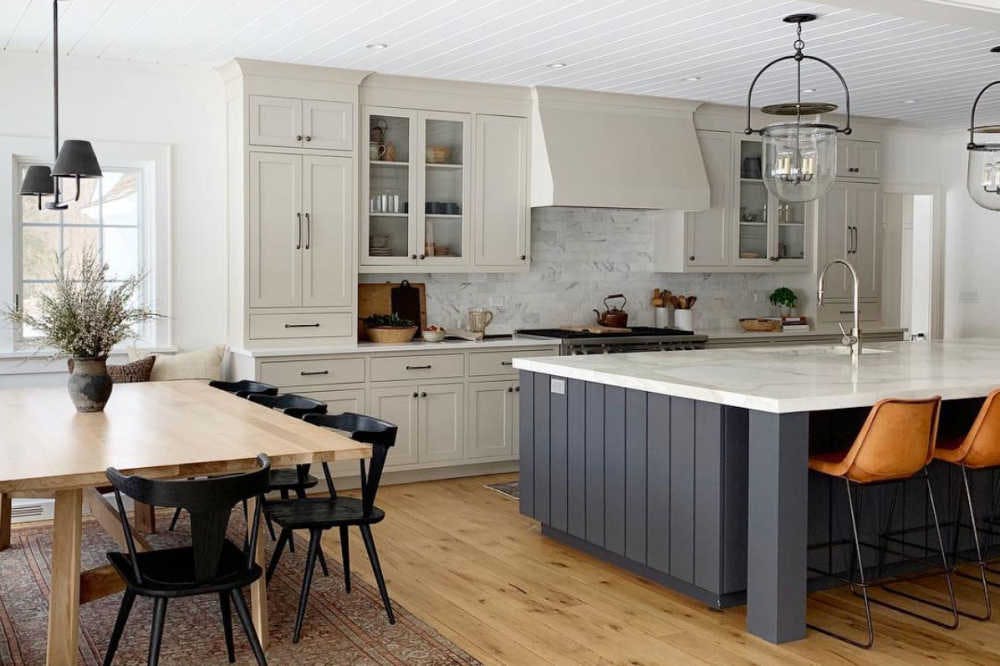
Photo via @amberinteriors
Let the Light In
Let us clarify—let the NATURAL light in. Try as hard as possible to shoot during soft daylight hours, when you can turn off the overhead lights in your space. (Overhead lighting will cast a yellow tone across your image, and make editing much more difficult afterward. Natural light allows you to see true colors through your lens.) Then throw open the drapes and let the light in! If you’re getting too much direct sunlight shining through a window that is distracting from the image or overpowering parts of your space, try softening it up by pulling down a sheer shade to cast a “glow” of natural light.

Photo via @amberinteriors
Shoot Straight & Low
If you want a little cheat sheet on how to keep your lines as straight as possible when shooting on iPhone, go to your settings and turn on your grid. (This can be found under Settings > Camera > Grid > On). Once you’ve turned on your grid, look at your space through the screen and get low. Or in other words, don’t shoot from your natural point of view! Shooting too high will make your image look like you are looking down on your furniture, and distort objects within your image. Instead, shoot with your iPhone between your chest and your belly button. It may feel unnatural at first, but you’ll be surprised at how it will result in a more natural perspective that will make the room look larger. Line up your grid guidelines with other straight objects in your image until they are parallel—think walls, doorways, and picture frames—then shoot away.
Tidy Up (But Not Too Much)
Yep, we mean it. It may be an obvious point to say a tidy space results in a prettier overall image, but don’t be afraid to leave a few natural accents thoughtfully strewn about your space. A throw blanket, pair of glasses on a side table, a coffee mug, an open book, etc. instantly adds that element of lifestyle that every interior should have. After all, interiors are meant to be lived in—and they should look that way!

Photo by @amberinteriors via @all.sorts.of
Make Sure Your Lens is Fingerprint-Free
Before snapping a photo of your space, make sure to clean off your lens with a soft cloth (or even just your T-shirt). It’s easy to forget how easily your lens can get greasy from being handled all day, so make sure it is sans fingerprints. What your lens sees, your lens will capture in your photo, so any residue left on your lens will result in a hazy photo and get in your way of shooting crisp, clean, detailed images.
Corner Yourself
Capturing everything you want to show in your image can be difficult on an iPhone, so you might have to get creative with your stance. And we mean creative. Don’t be afraid to get in the tiniest corner you can find (or in the bathtub, or standing on top of the toilet—seriously) to get every part of your space in the shot that you want to capture. You’d be surprised what you can get in one iPhone photo by just changing where you stand!

Photo by @laurenpressey via @klinteriors
Adjust Your Exposure
If you didn’t know this already, your world is about to be changed forever… You can adjust the exposure in your iPhone camera, just by squaring up for your photo, tapping the screen once to lock your focus, then dragging your finger up and down to brighten your photo or make it darker. It’s always better to under-expose than over-expose your interior photos, so keep that in mind as you’re shooting. Any shadows can easily be brightened as you’re editing your photo, but highlights are harder to gain back if you shoot a blown out photo from the start.
Do you have any other iPhone photography tips that we didn’t cover?
We hope these tips were helpful! Here’s to many, many swoon-worthy interior photographs in the future. ;)
Xx Team GM
Photos: (Header) @amberinteriors, @all.sorts.of, @laurenpressey on Instagram