
Latest & Greatest
Read All About It: How to Make iPhone Pictures Look More Professional
a year ago
Hi friends!
I get asked all the time about my photography editing techniques both with my prints and shots on Instagram, so today I’m sharing my go-to editing steps for making iPhone photos look more professional.
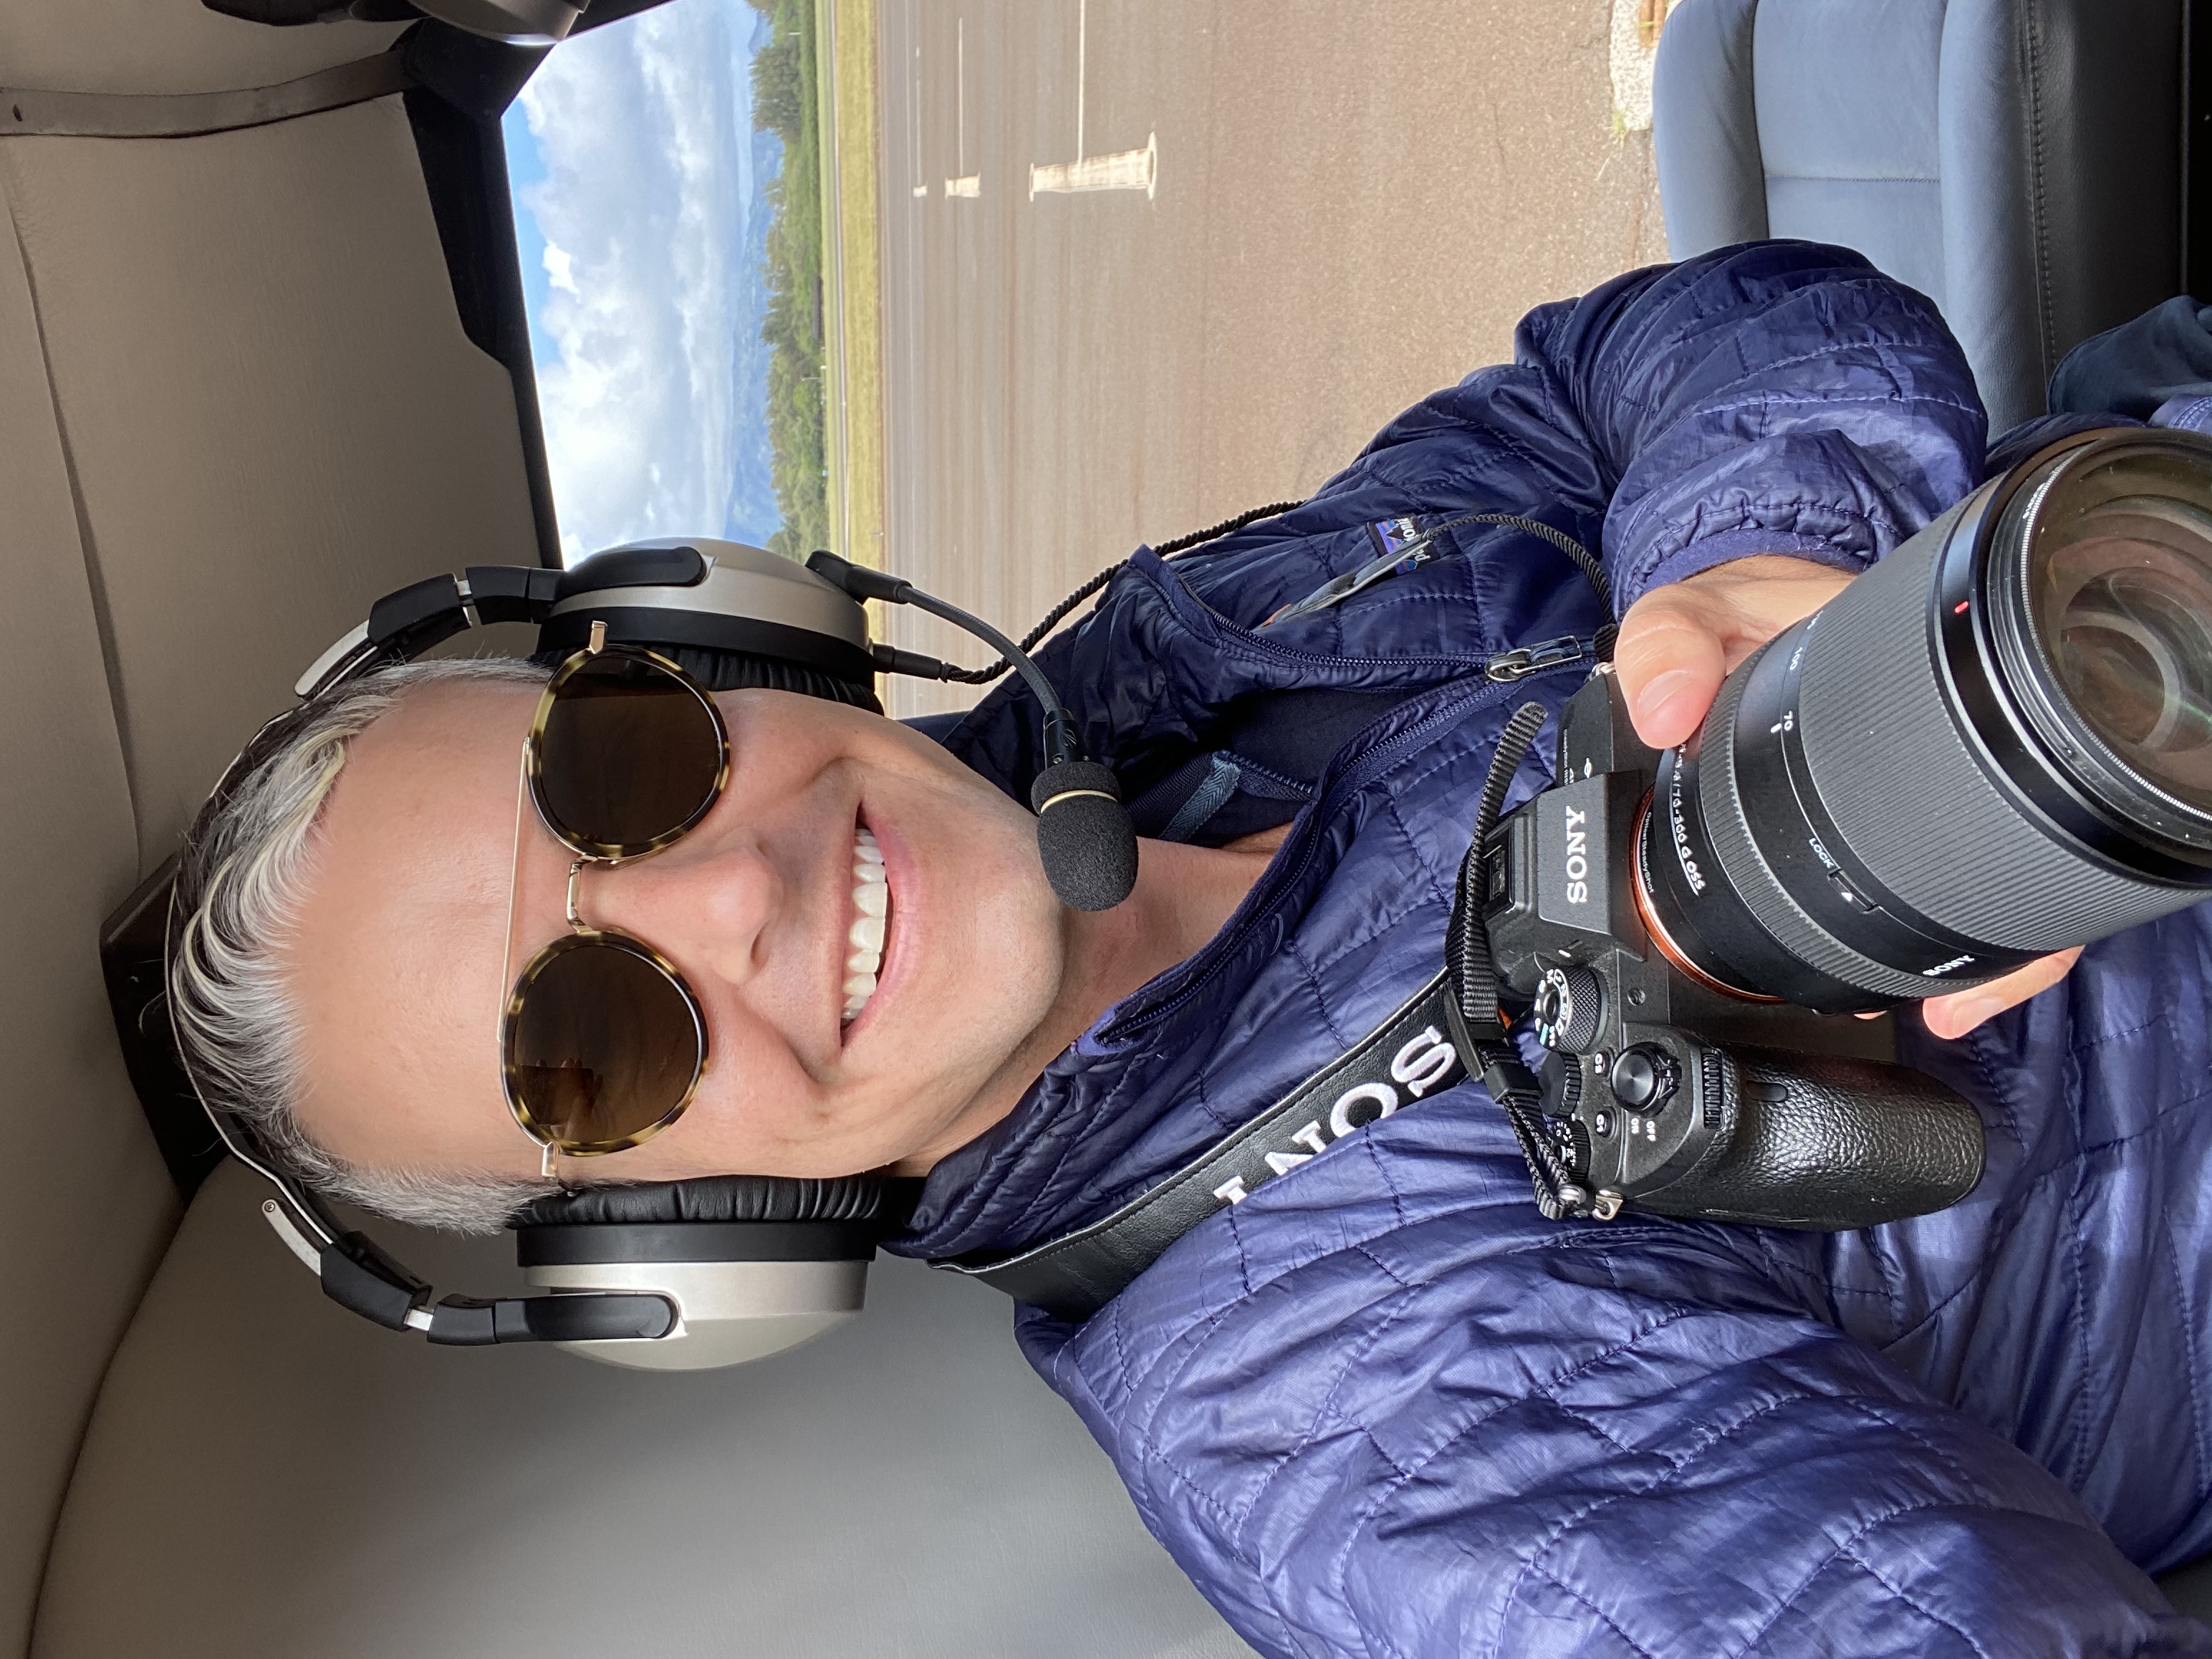
It is amazing to think about how far our phones have come over the years. For so long, I felt the need to take my large camera around with me everywhere I went, and now I feel like I can capture almost as high-quality photos with my iPhone. I wanted to share a great technique that many people don’t know about that helps you achieve that “professional look” by using what I use with my camera, the RAW format.
If you are not familiar with RAW format, it means large amounts of data, that’s why our phones typically automatically capture the photo as a JPG or an HEIC because that is a condensed version of the RAW format. When you capture a RAW image, you are getting the image in its non-condensed form, leaving a lot more information and details in the image.
If you have an IPhone 12 or later running at least iOS 14.3 you can capture and store RAW files by opening up your settings, choosing Camera, then Formats. Click the button next to Apple ProRAW, which is their variation of a RAW format. If you have an IPhone 14 Pro, then you have even more options, as you can choose the resolution to store your RAW files: 12 megapixels or 48 megapixels.
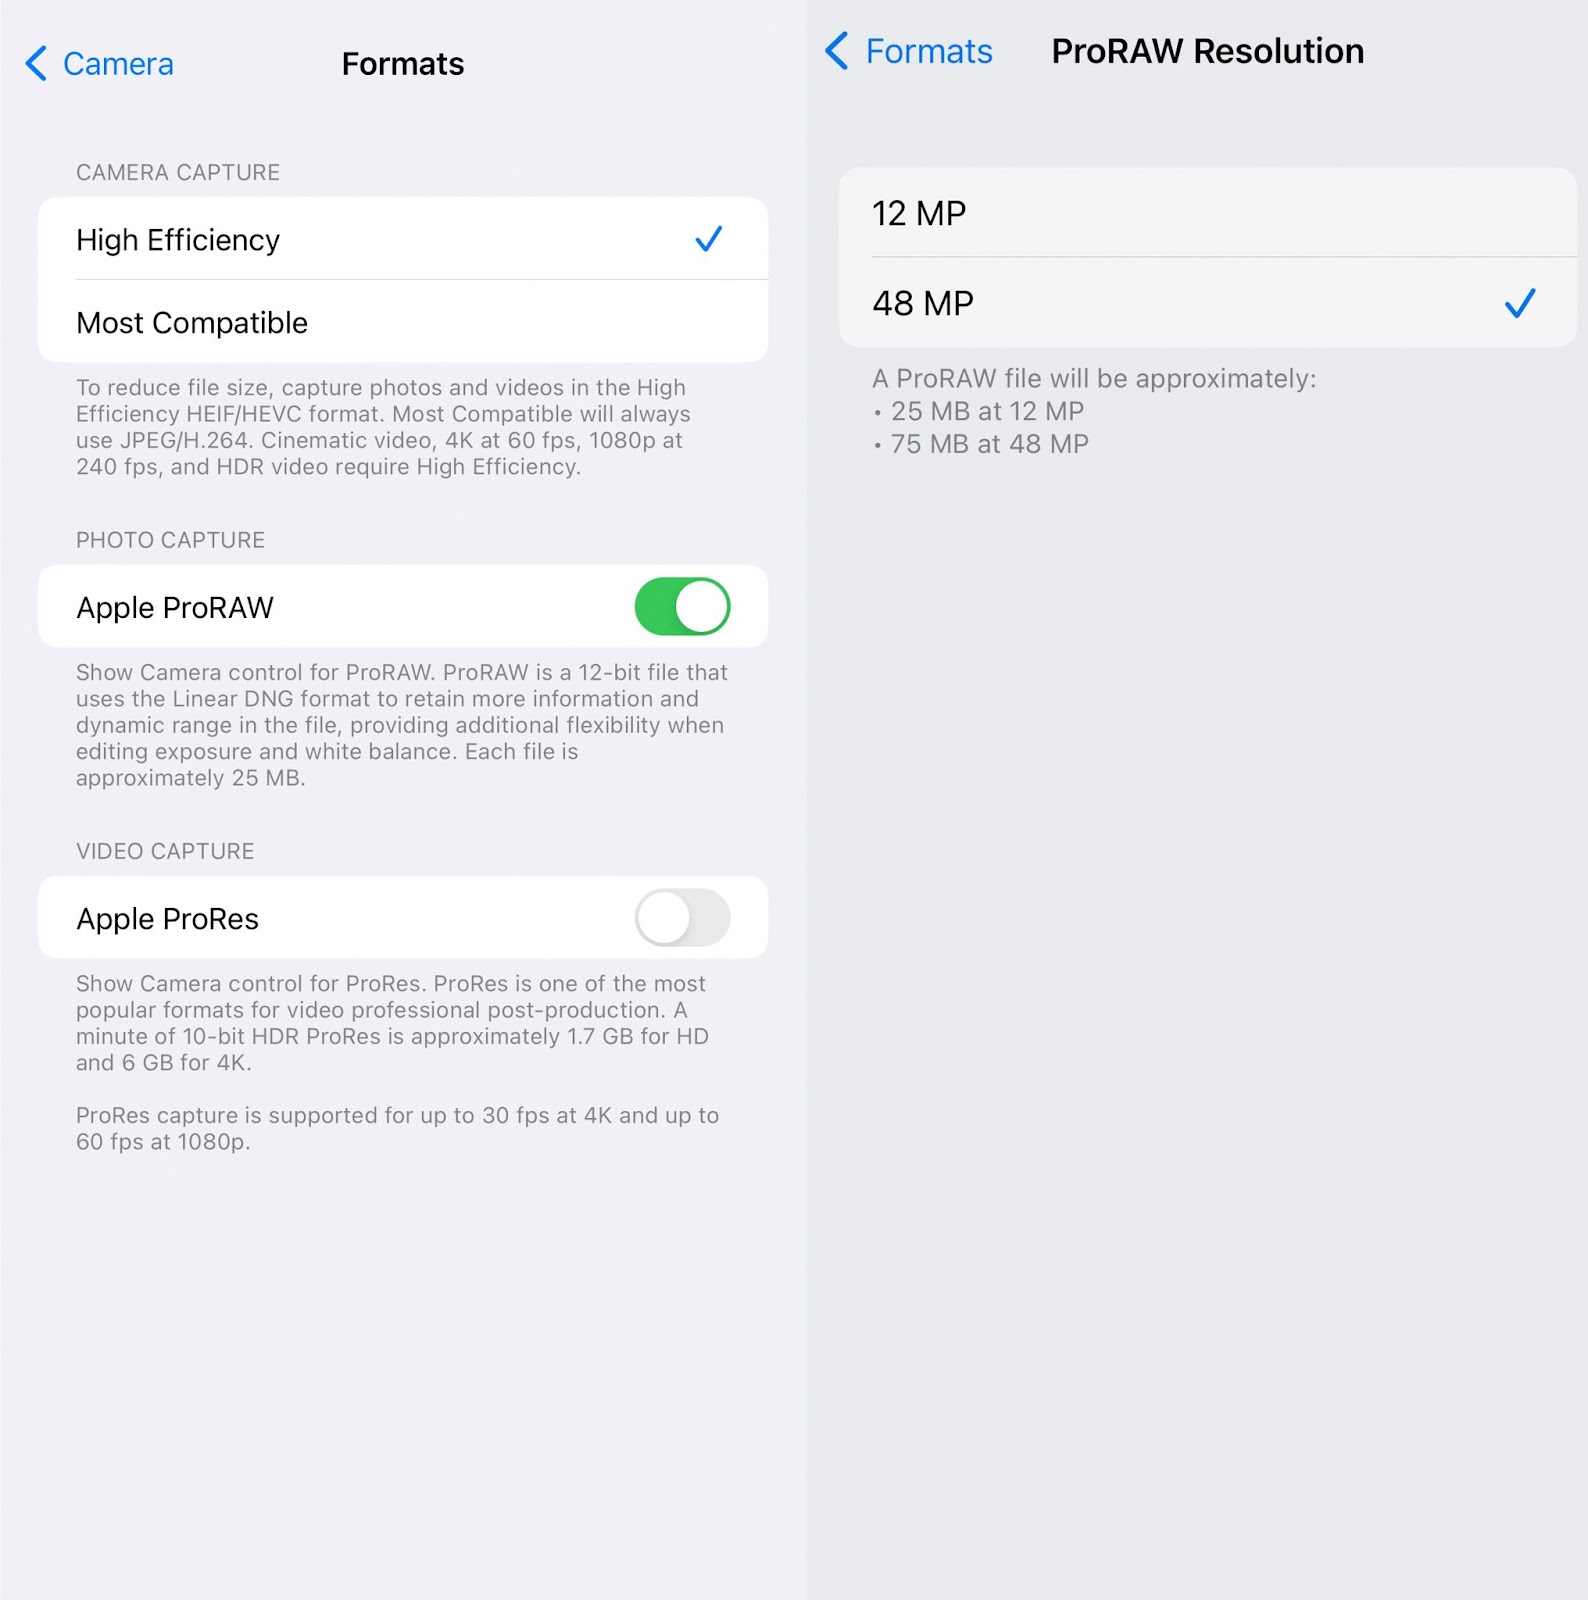
The 48-megapixel file allows for photos with good detail for all croppings, but each file size can be 75 megabytes or larger. These images can only be saved at this resolution when taken on the main camera.
Once you capture your RAW file, there are several editing apps like Snapseed,VSCO or Adobe Lightroom. Snapseed is free and even has a free online tutorial if you are a beginner. Raw files tend to appear a bit hazy if they are not in a photo-editing program, so be sure to open the image in an app such as Snapseed. Once you are in the app, you can use the editing tools to adjust the white balance so you can make the color feel more neutral, play with the exposure, and adjust the color and pull dark spaces out of the shadows.
Once you have finished adjusting your RAW image, you can save it as a JPEG.
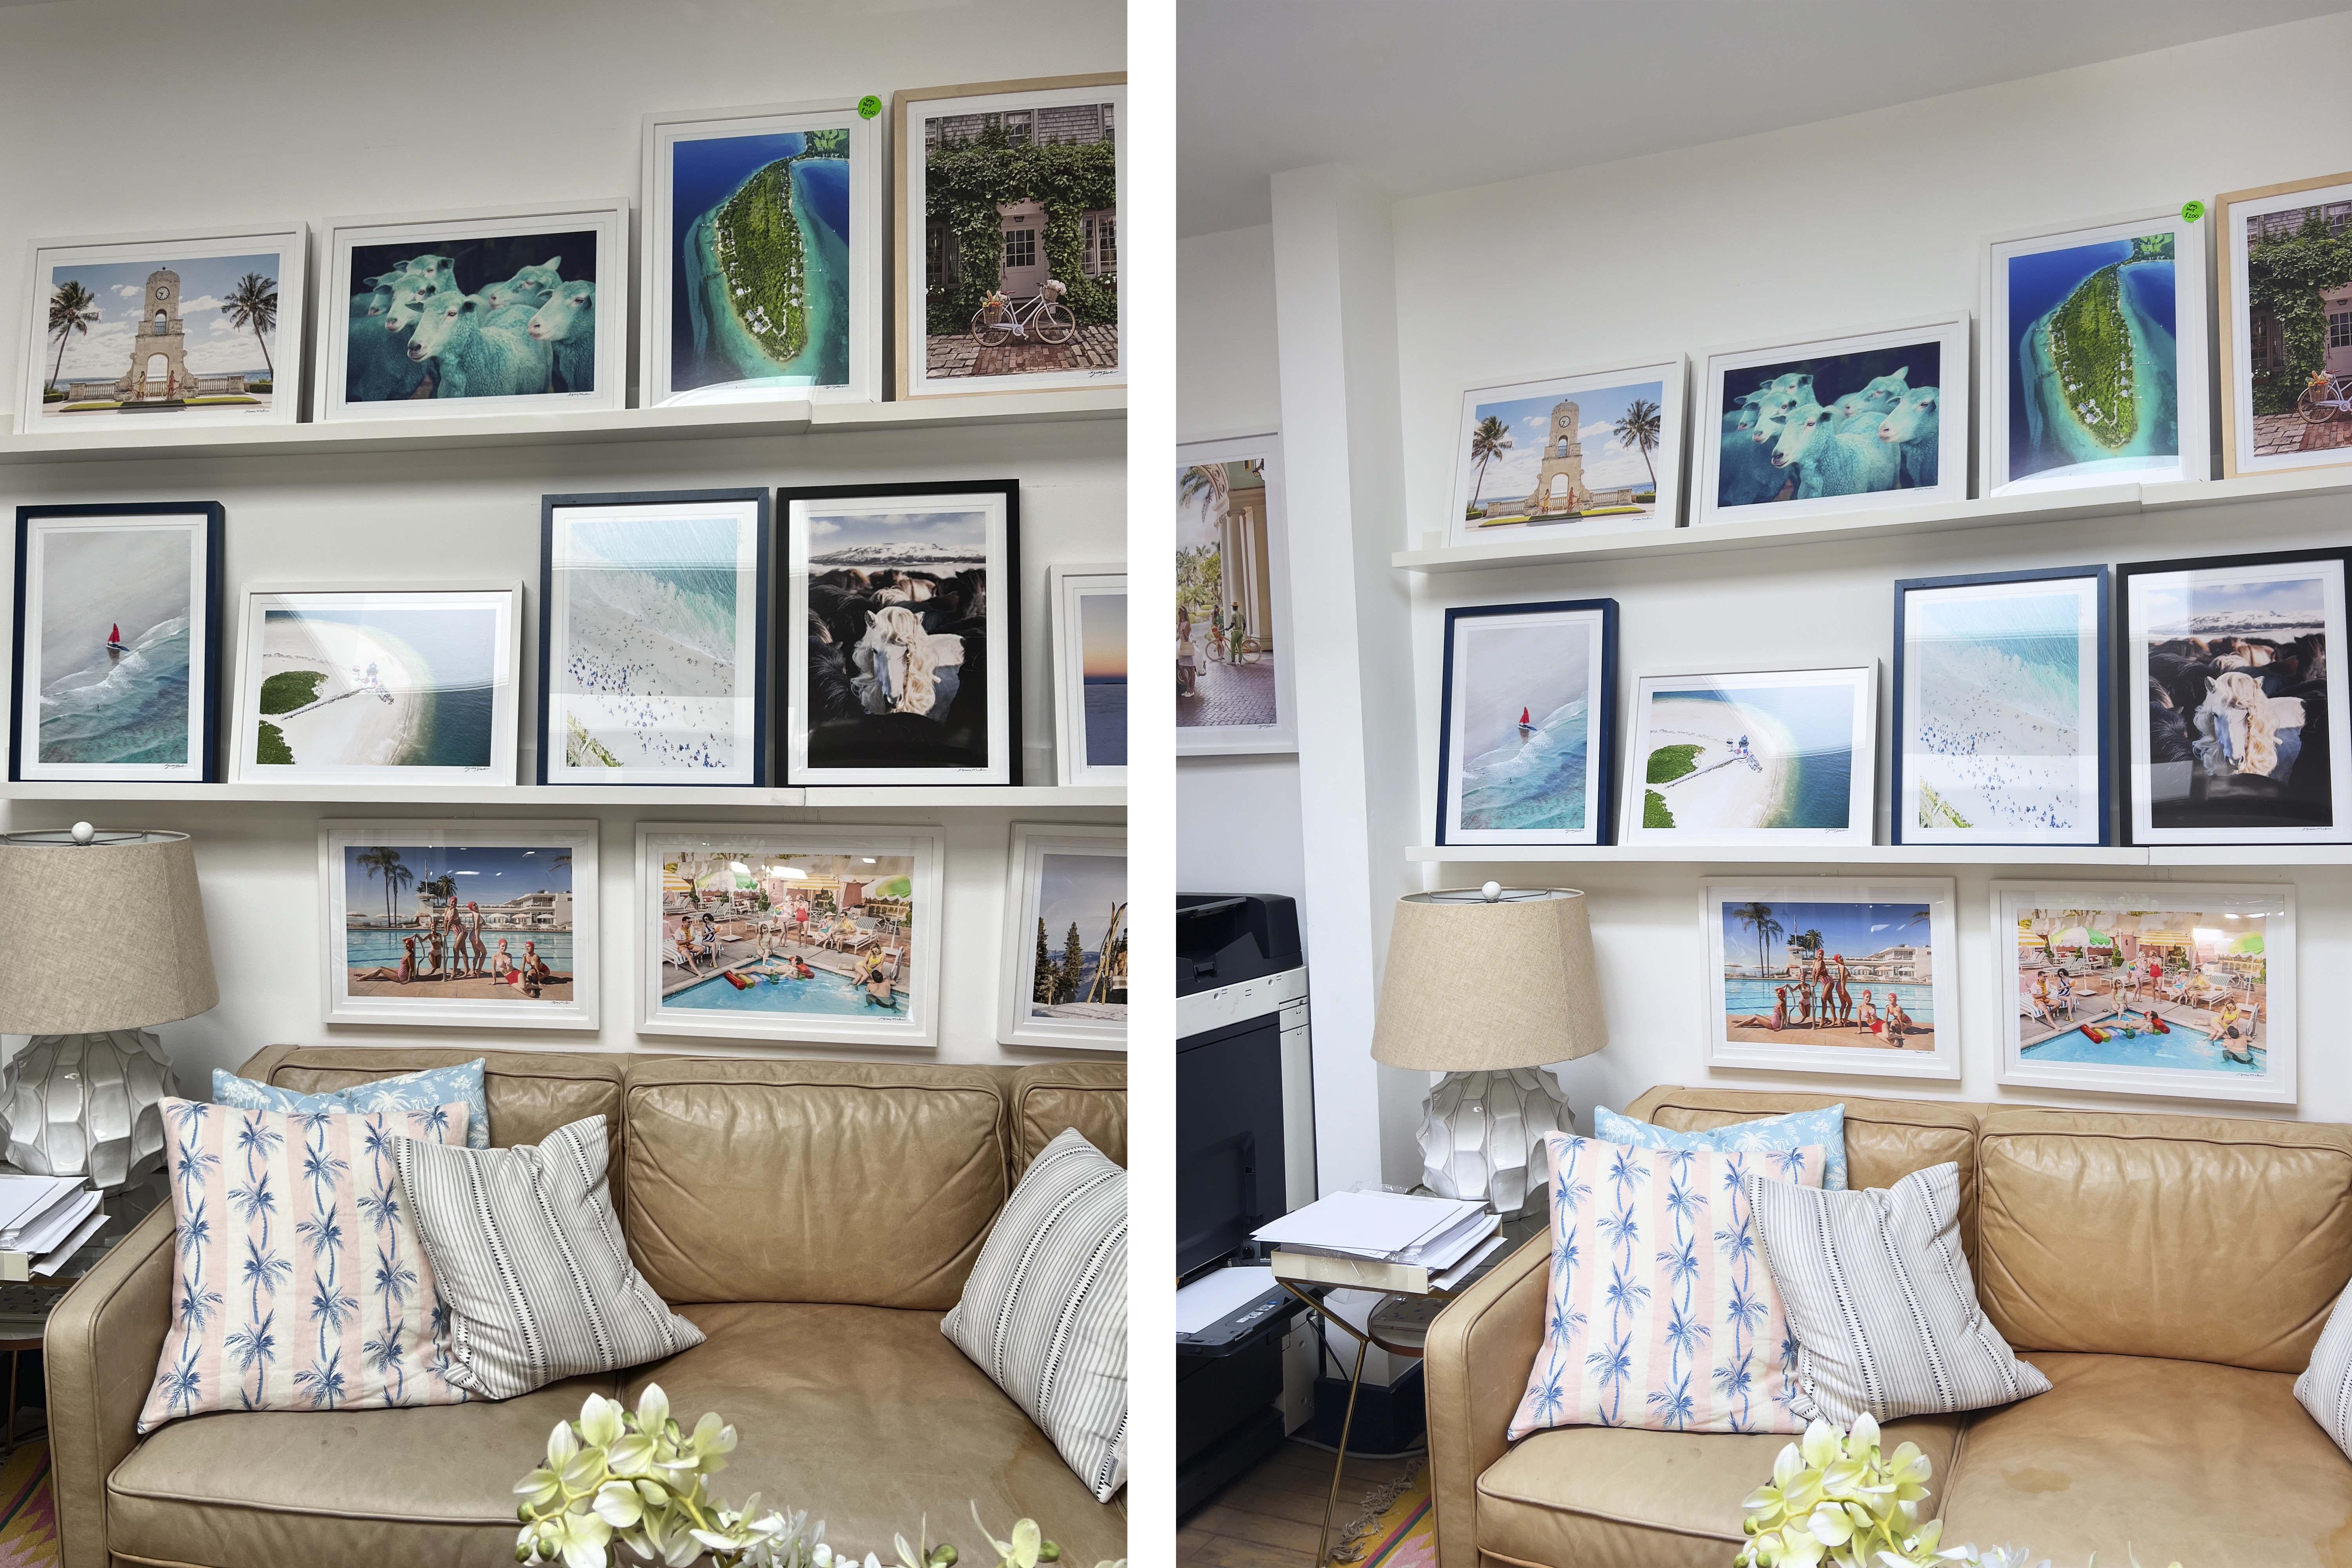
Here’s an example from my studio of a normal photo next to a RAW edited photo – what do you think?
That’s it! Easier than you thought, right? I hope these tips help you create some gorgeous photos that you love, and if you have some other iPhone editing tips that I didn’t mention here I’d love for you to share them with me as I plan on sharing more tips soon!
XX,
Gray