
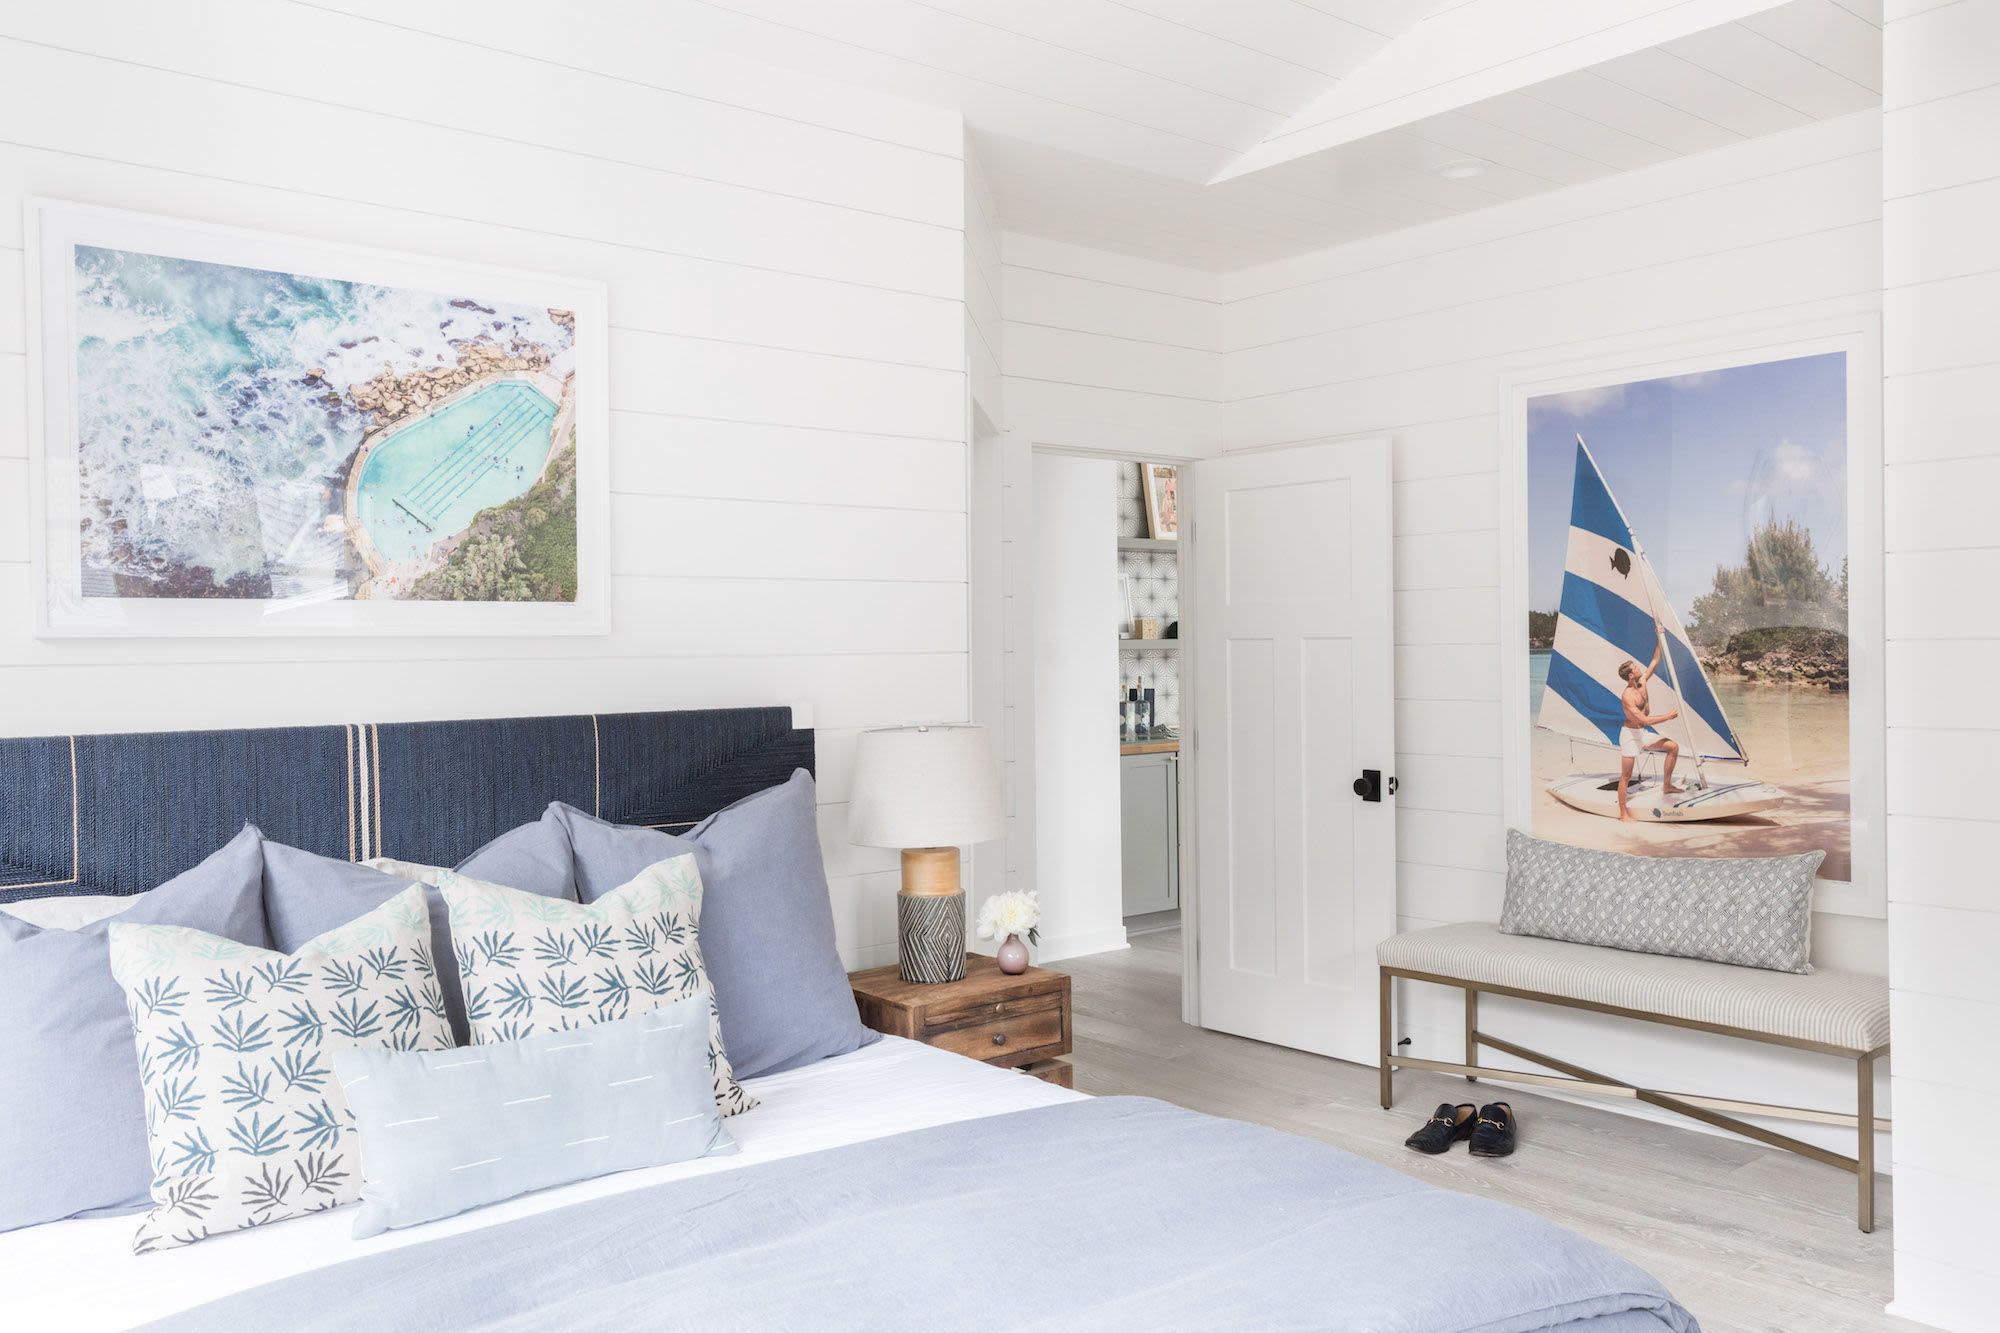
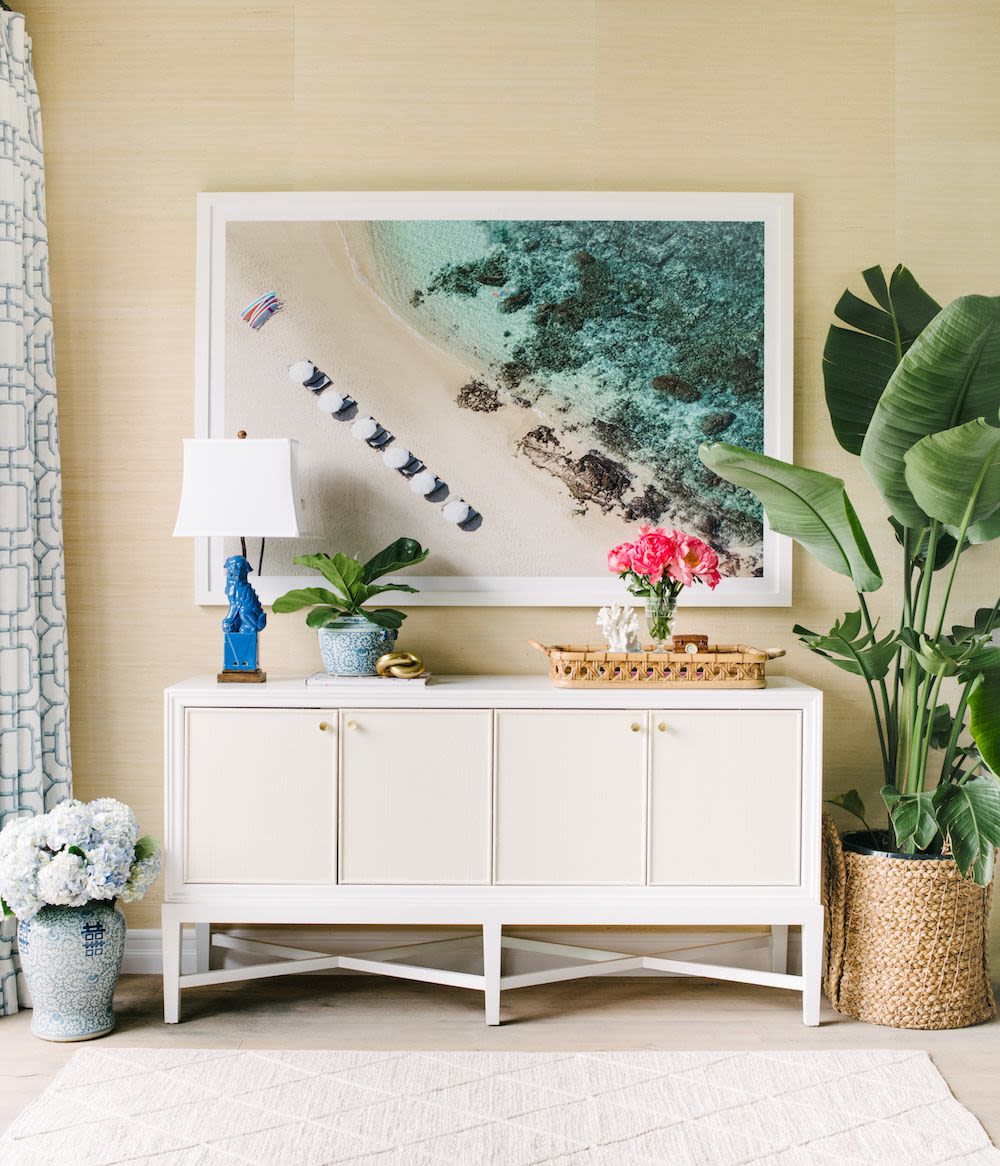
When it comes to hanging art on your walls, it’s as easy as picking a spot and putting a nail in the wall, right? Think twice… Sure, you could try to just wing it, but let’s be honest, that method usually results in crooked frames and unwanted holes in your walls. The bottom line is, we all know that hanging a picture just right is much easier said than done. (The struggle is real!) Whether you’re hanging one picture [or a whole gallery wall](https://www.graymalin.com/lifestyle/ how-to-curate-a-gallery-wall), it’s important to have a plan and mark your hanging spots clearly before driving heavy nails into your wall. Luckily, we’ve racked our brains for a few tips to help you hang those pieces perfectly—the FIRST time. Let’s get started…

TRY TOOTHPASTE
Toothpaste probably isn’t a tool that comes to mind when you’re preparing to hang something on your walls, but it’s actually a pretty handy method! First of all, toothpaste is an easily accessible household item, so there’s no need to run out and buy any fancy tools to get the job done. Keep in mind however, that in order to keep cleanup easy and your walls color-free, this trick is best done with white or light-colored toothpaste, rather than your bright minty blue. Here’s how it’s done…
- Place a small dab of toothpaste on the hanging hooks on the back of your frame.
- Gently press the frame onto your wall, where you want the artwork to be placed.
- Pull the frame back toward you (slowly, so you don’t smear the toothpaste).
- You will now see the dabs of toothpaste on your wall. This is where you will place your nails.
- Wipe off any excess toothpaste from your frame, and hang it up!
NAIL + CLOTHESPIN
For this method, all you need is a couple of clothespins and some nails. To begin, simply drive a nail you’re not planning to use through the clip (or mouth) end of a wooden clothespin. Make sure you don’t drive the nail so far that it’s flush with the wood, just nail it about 3/4ths of the way so you have room to hang your frame from the nail in the clothespin. Then follow these steps…
- Once you have made your nail + clothespin tool, hang your frame on the nail, holding the clothespin upright with your other hand.
- Hold your frame (on the clothespin tool) up to the wall where you want it to hang.
- Once you find the right spot, gently push on the frame to create a small hole or mark on the wall from your nail.
- Remove the frame, and drive a new nail (without the clothespin) into the wall where the hole mark is.
- Hang your frame!
PAINTER’S TAPE
Using painter’s tape is one of the easiest ways to determine proper distance between two nails when hanging your frame. Again, not much is needed for this method, just some bright-colored painter’s tape and a black marker. Here’s how you do it…
- Rip a length of tape long enough to span past the hooks on the back of your frame.
- Place the piece of tape across the back of your frame, and mark two dots—one in the center of each bracket or hook.
- Remove the tape from your frame, and place it on the wall where you want your picture to hang. The dots indicate where you will insert the nails.
- Make sure your tape is straight and level, then insert your nails and hang your art.
PAPER TEMPLATES
This method works especially well when you are deciding how to arrange differently sized frames next to each other. To do this trick, you will need gentle tape and butcher or craft paper large enough to trace your frames on it. Follow these steps…
- Lay out your craft paper, then place your frames face down on the paper.
- Trace the edges of your frames (carefully, so you don’t get marks on your frames!)
- When tracing your frames, also make sure to mark on your templates where your nails will need to go.
- Cut out the templates, and tape them to your wall where you envision them hanging. Feel free to play around with the arrangement until you are satisfied with it.
- Insert nails where marked, and hang your frames! (Tip: Hang one picture at a time before removing all of your templates from the wall so you don’t lose track of your marks.)
OVERALL: LEVEL UP
If we have one most-important tip, it would be to invest in a level! It is better to be absolutely sure that your frame is hanging perfectly straight, instead of wasting time doing the head-tilt, wondering if it is straight. In fact, it can be as simple as downloading a level app on your phone. There are several free options, so you don’t have to spend a dime (just search ‘level tool’ in the app store). Voilà! We hope some of these tips help you perfectly prepare your décor so you can hang those frames with ease.
Xx Team GM